Installation
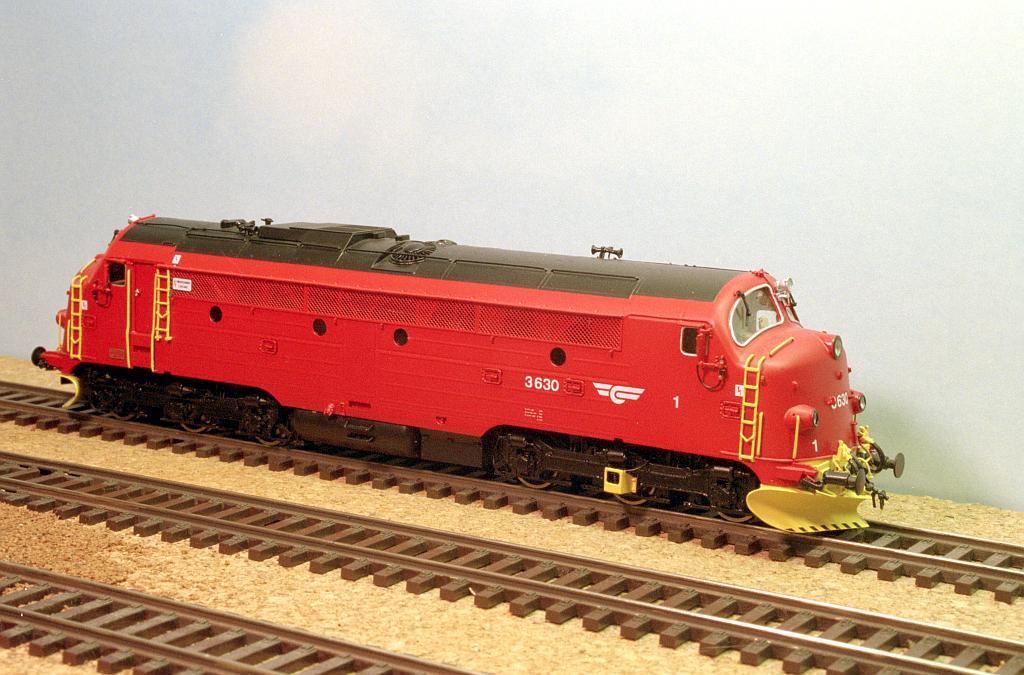
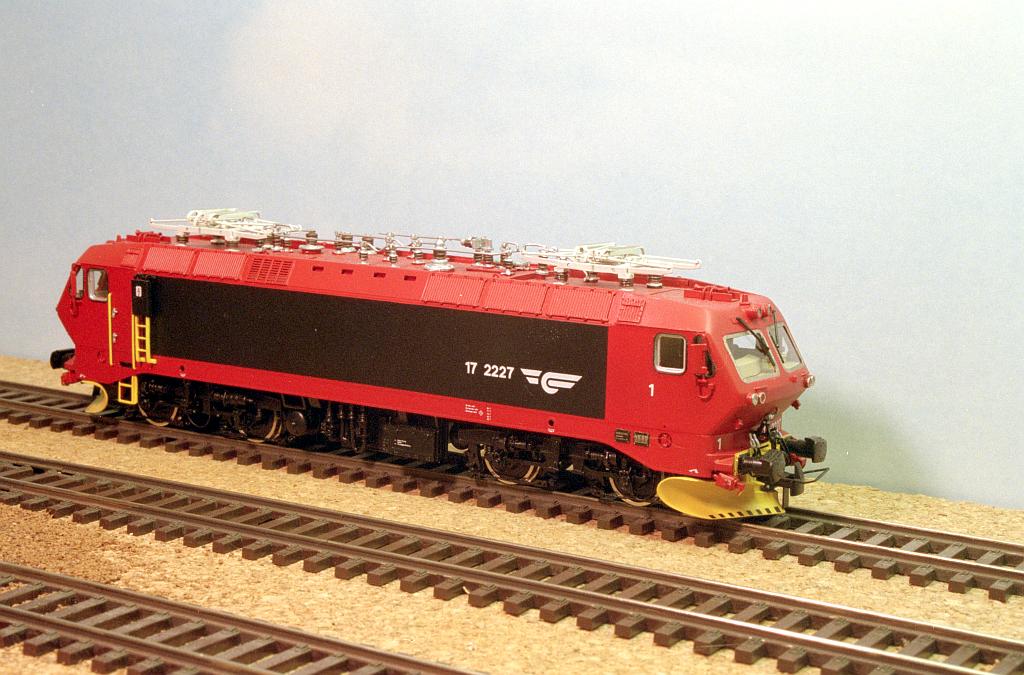
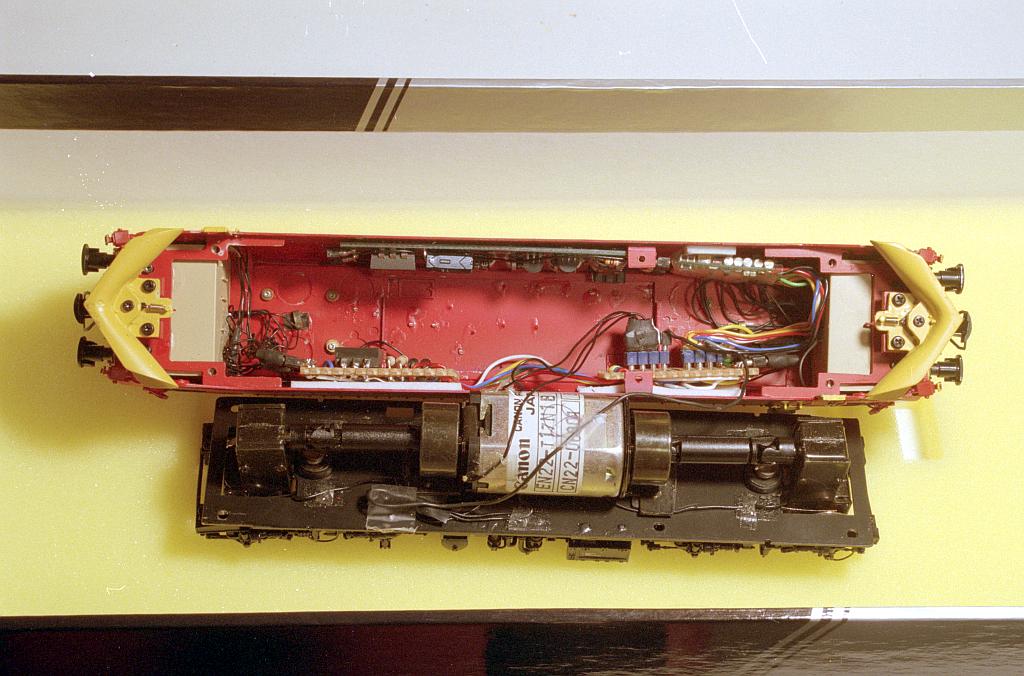
NMJ makes very nice models of Norwegian locmotives. They have two model lines; Superline, which are brass imports and Topline, which are plastic. The earlier Superline models were made before DCC became standard. On this pages we cover two models; the Di3 diesel locomotive and El17 electric locomotive. Installing DCC decoders in these locomotives requires some work because they don't have a DCC socket. Also they have a light board installed that is used to power the small lights (grain of rice/wheat).
In both locomotives I replaced the existing light board with a similar light board with decoder installed. These installs were done in 2003 and therefore some older techniques and decoders were used.
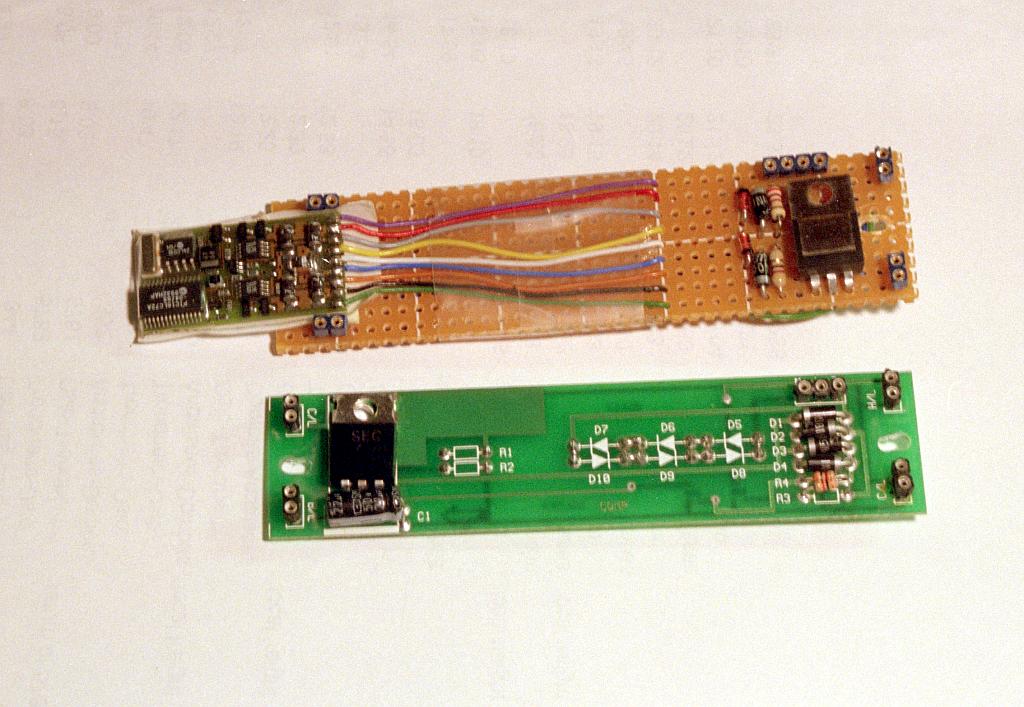
This picture shows the original board from the Di3 (bottom) and the new board with decoder. To create the proper 1.5V for the lights I used the LM317 voltage regulator.
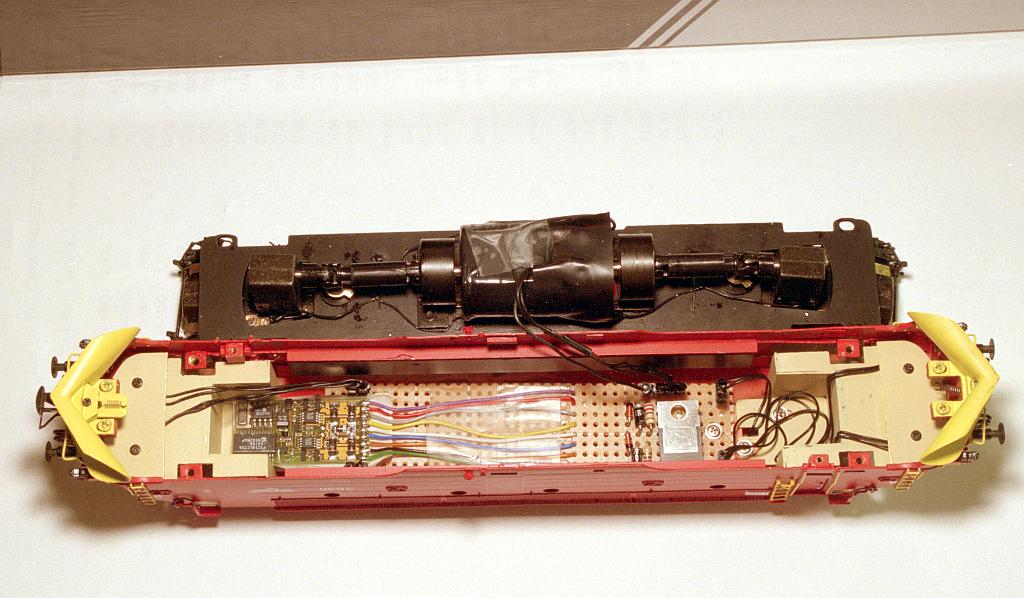
This picture shows the new board installed in the roof of the NMJ Di3. The decoder used in this installation is a Lenz LE080XS. This is a four function decoder with silent drive. The silent drive feature is important because the NMJ models have Cannon motors and they are coreless motors so they require a high PWM. For the Di3 all four functions are used. Two functions wires are used for the front and rear lights. The third and fourth functions are used for the top light above the cabine.
This picture shows a simular installation in the NMJ El17. The original board still sits in the locomotive. The new board is mounted on the other side. Because of space limitations the board is made in two pieces. The decoder used in this installation is the Zimo MX61/2000.